I've spent the last decade in B2B software and digital marketing. I've watched agencies charge tradespeople $5,000 for a website that doesn't rank, $2,000/month for ads that don't convert, and $300/hour for "strategy sessions" that go nowhere.
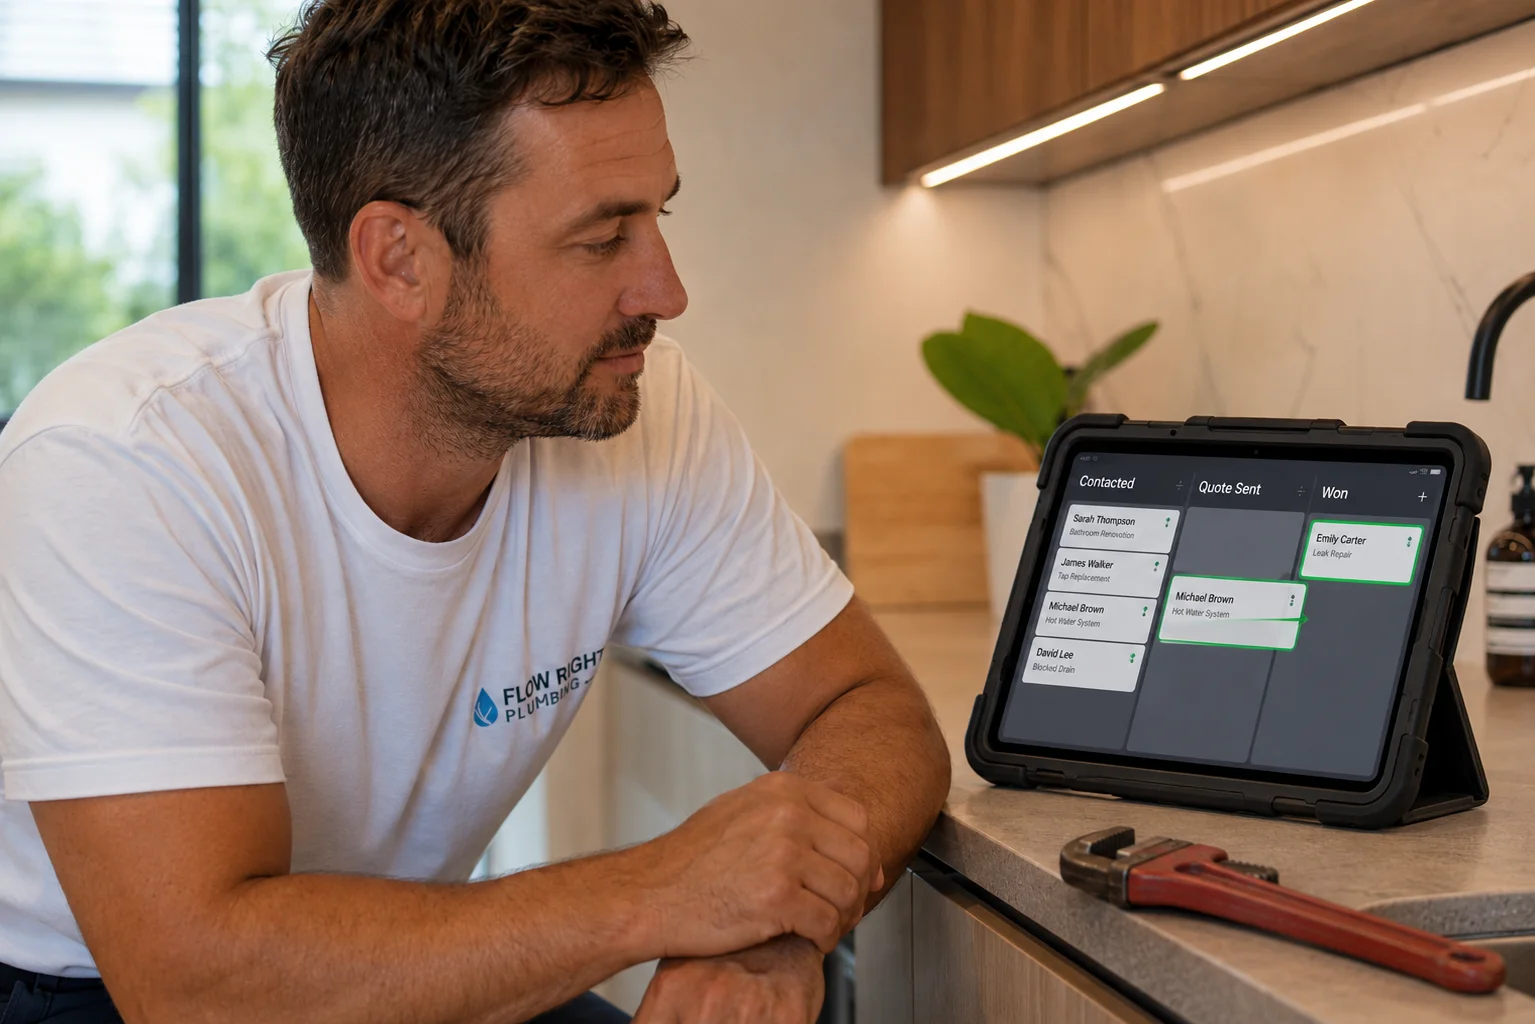
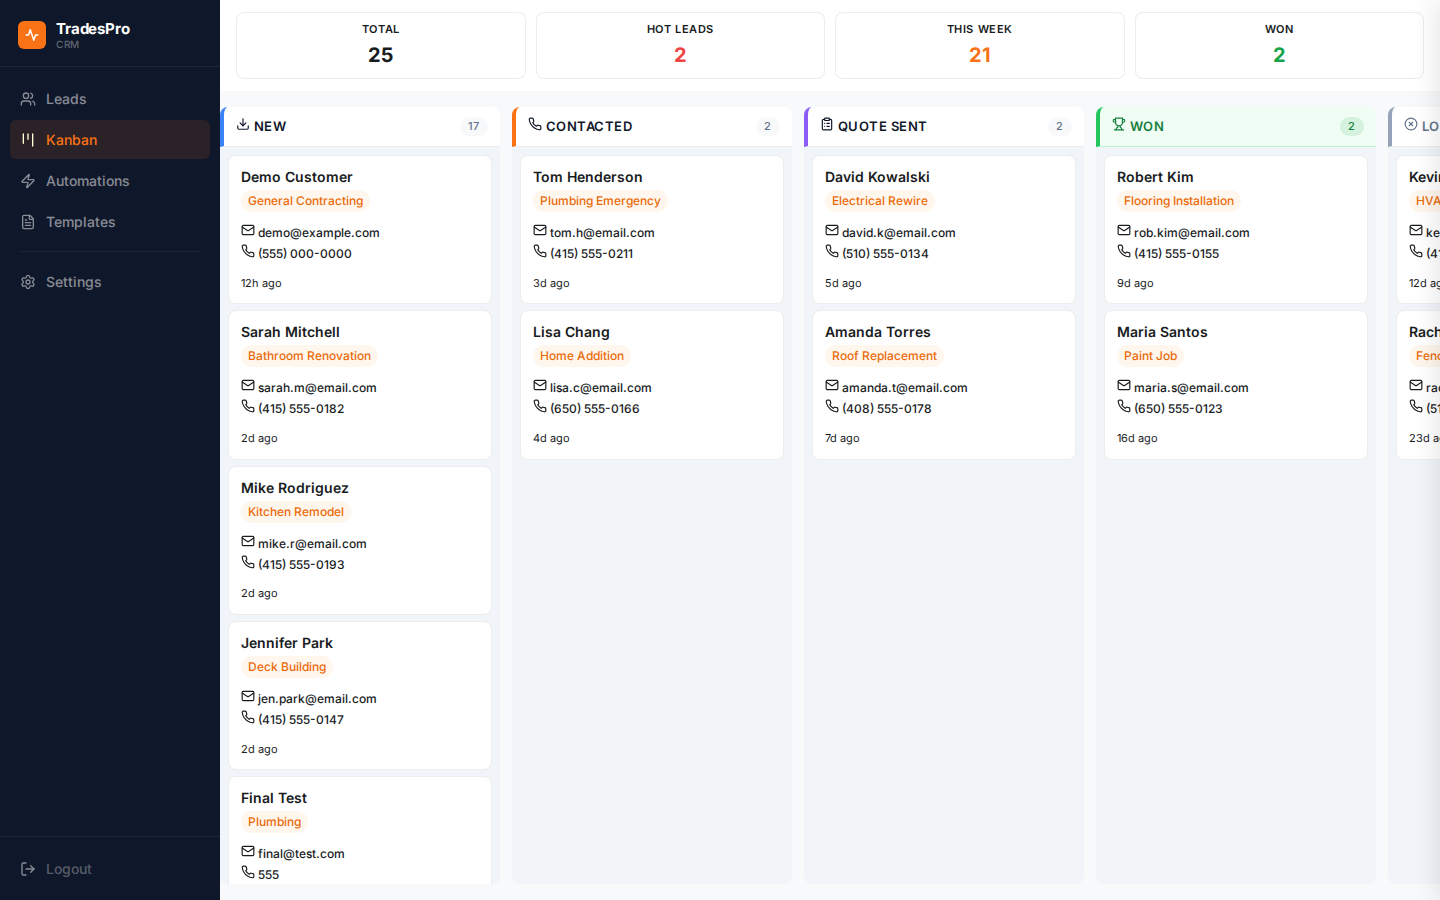
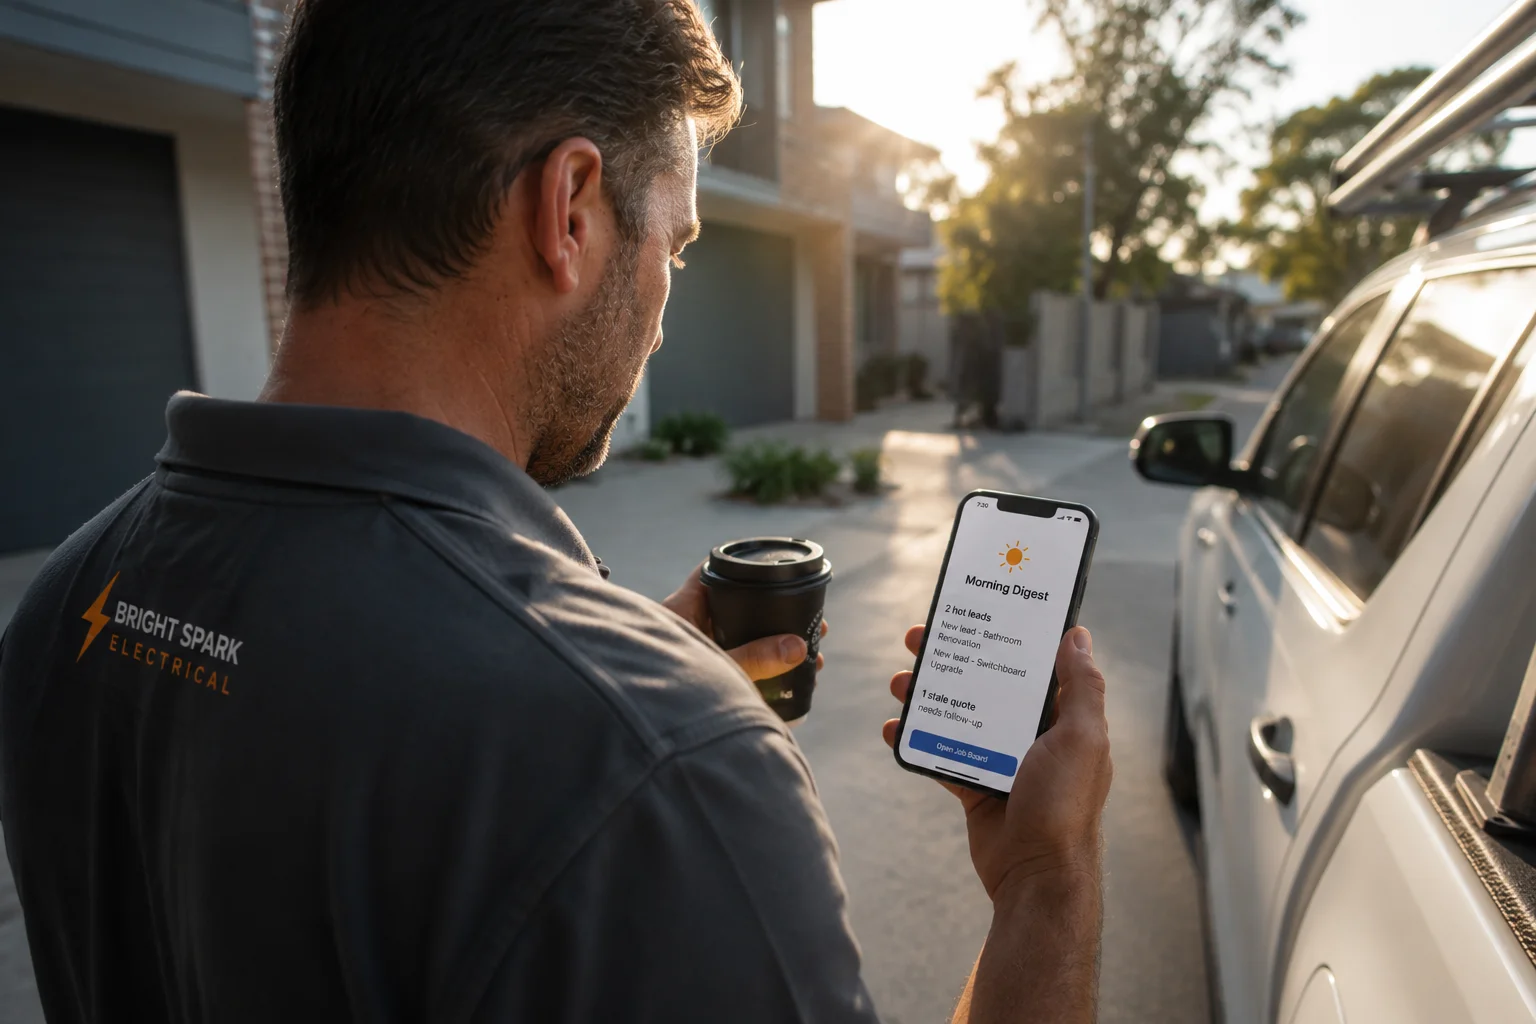
TradesPro exists because tradies deserve better. A plumber running 6 jobs a week doesn't have time to figure out Google Maps, manage a developer, or decode a digital agency's monthly report. They need something that works — quietly, reliably, without them having to think about it.
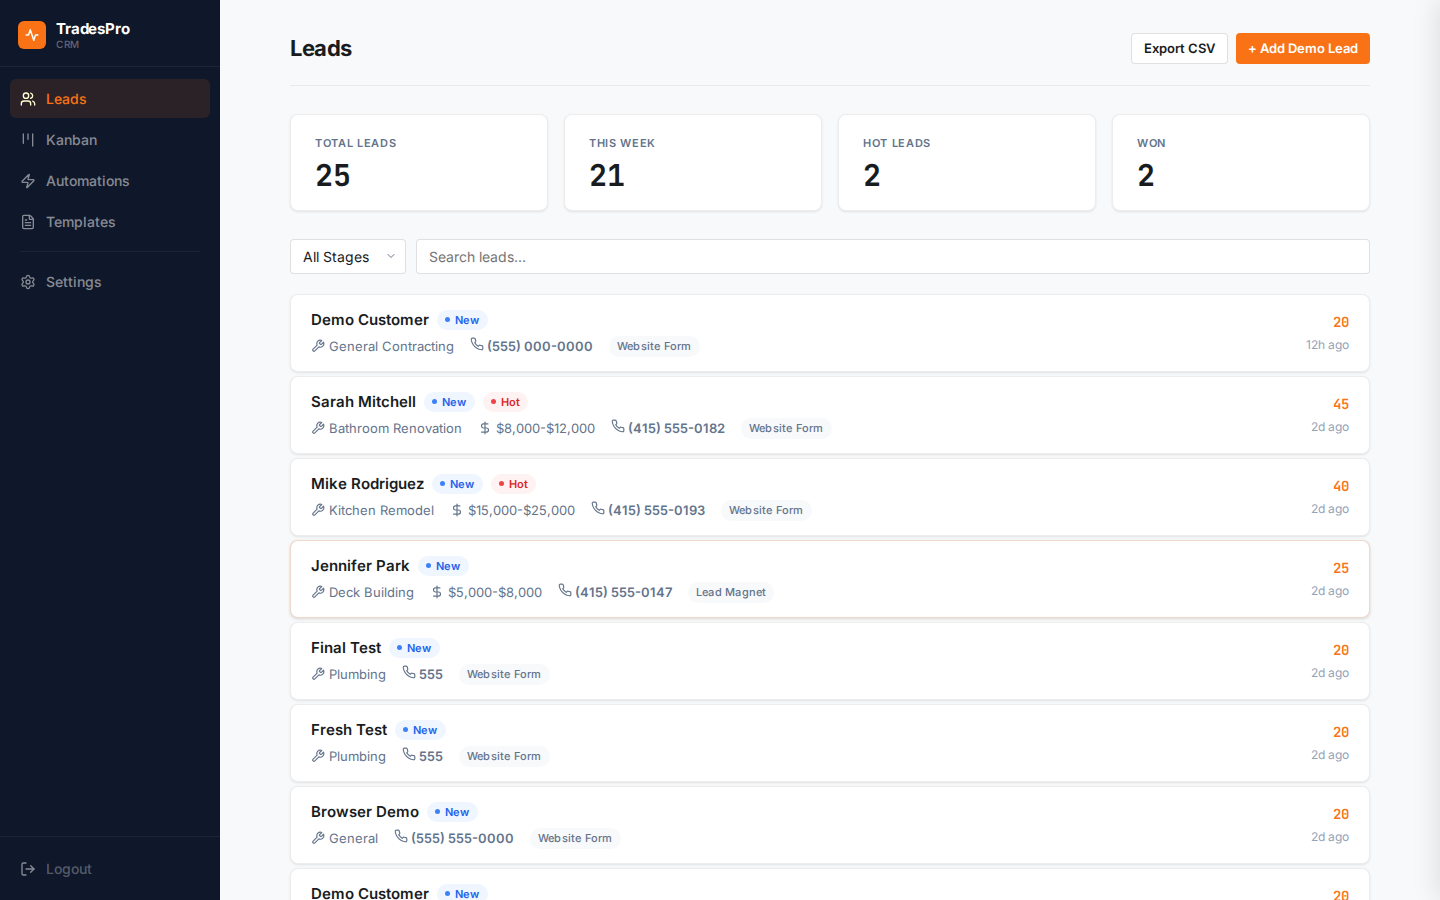
Everything here is built around one question: does this bring in more jobs? If it doesn't, we cut it. If it does, we double down on it. That's the whole system.
If you want to talk before you sign up — call me. The number's on this page. I pick up.